

Embarking on the journey of completely transforming an overgrown, chaotic property into a cohesive, breathtaking outdoor living space is an incredibly ambitious and deeply rewarding endeavor. There is a profound sense of excitement that comes with sketching out new garden beds, browsing through catalogs of vibrant flora, and envisioning a pristine, manicured yard where your family can gather. The vision of a revitalized exterior is powerful, but turning that vision into a reality requires far more than just a trip to the local nursery. It requires a highly coordinated, logistical approach.
One of the most dangerous and ultimately expensive mistakes a homeowner can make during a property overhaul is working out of sequence. It is incredibly tempting to start with the most visually gratifying tasks, such as planting delicate flower beds, rolling out fresh green sod, or installing elegant hardscapes. However, beginning with the ground-level aesthetics before addressing the heavy, overhead liabilities guarantees a logistical disaster. If you plant expensive shrubs and then realize a massive, rotting oak limb is hanging directly above them, the heavy machinery and falling debris required to fix the overhead problem will inevitably crush your new ground-level investments, forcing you to pay for the exact same work twice.
The purpose of this comprehensive guide is to equip you with a strict, chronological blueprint for your outdoor renovation. By adhering to a logical, top-down methodology—beginning with assessing the overhead canopy, executing structural pruning, clearing subsurface obstacles, trenching for water infrastructure, and culminating in the final surface planting—you will ensure a seamless, cost-effective, and permanent transformation of your property.

Step 1: Evaluate the Canopy for Safety and Sunlight Alignment
The absolute first phase of any major yard renovation must begin by looking up. The overarching canopy of your property dictates the entire microclimate of the ground below. Before you purchase a single ground-level plant, you must accurately assess both the structural integrity of your overhead wood and the exact amount of light it allows to penetrate to the soil. As an actionable tip, track the sun’s path across your yard for two consecutive, clear days. Take photographs in the morning, at solar noon, and in the late afternoon. Massive shade canopies will dictate exactly what species of grass or shrubs can actually survive below them; planting sun-loving Bermuda grass under the dense shade of a mature maple is a guaranteed failure.
Beyond assessing sunlight, your primary objective during this phase is prioritizing structural safety. A sprawling yard design is entirely worthless if a decaying trunk collapses onto your roof during the next major storm. You must learn to identify the subtle warning signs of severe decay.
Look for the following indicators of structural failure:
- Fungal Growth: Large, shelf-like mushrooms growing directly out of the bark at the base of the trunk are a primary indicator of advanced internal rot.
- Severe Leaning: While some leaning is natural, a sudden, pronounced shift in the angle of the trunk, especially if accompanied by heaving soil or exposed roots on the opposite side, indicates immediate root failure.
- Hollow Cavities: Deep, structural cavities in the main trunk or at the primary branch unions severely compromise the load-bearing capacity of the wood.
- Deadwood: Massive, leafless branches that hang over your driveway, roof, or planned patio areas pose an immediate, lethal threat to anyone walking below.
To properly identify these hazards, you must have a certified arborist from a reputable tree care company conduct a comprehensive health audit of your entire canopy. These professionals are trained to spot microscopic signs of disease and structural weakness that the untrained eye easily misses. If their diagnostic audit reveals that a trunk is diseased beyond saving, you must schedule the necessary tree removal as the very first physical action on your property. This process involves massive bucket trucks, heavy cranes, and skid steers that weigh thousands of pounds. The heavy machinery footprint will temporarily tear up the existing turf and compact the soil. Executing this destructive, heavy-duty phase first acts as an absolute protective measure, ensuring that all subsequent ground-level investments and delicate plantings are entirely shielded from being crushed by falling timber or deep tire ruts.
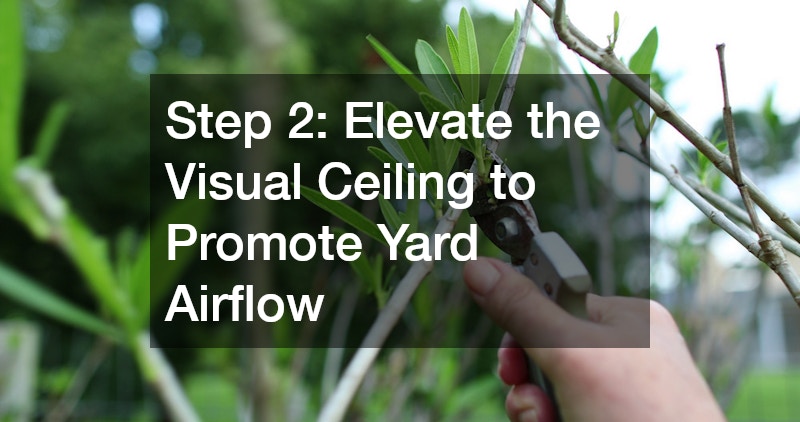
Step 2: Elevate the Visual Ceiling to Promote Yard Airflow
Once the immediate hazards have been eliminated, the next phase of the top-down methodology focuses on refining the remaining canopy. Even healthy, structurally sound wood can severely inhibit the potential of your property if it is allowed to grow wildly out of control. An overgrown, weeping canopy creates a claustrophobic visual ceiling that makes your property feel significantly smaller than it actually is. Furthermore, an incredibly dense crown starves the grass below of the ambient sunlight and proper air circulation required for photosynthesis and disease prevention.
To combat this, utilize an arboricultural technique known as “crown raising.” This process involves the strategic, selective removal of the lowest layer of branches. By raising the visual ceiling of the canopy by just a few feet, you instantly open up sweeping sightlines across the property, making the space feel expansive and inviting. More importantly, this elevation allows the morning and evening sun to reach beneath the canopy, drastically improving the survival rate of the turf and ornamental shrubs you plan to install later.
Beyond aesthetic shaping, refining the canopy is a critical component of property preservation. You must understand the science of wind resistance.
- The Sail Effect: A dense, unpruned canopy acts exactly like a ship’s sail during high winds or severe summer thunderstorms. When gale-force winds hit a solid wall of leaves and tangled branches, the immense kinetic energy is transferred directly down the trunk into the root system, frequently resulting in catastrophic uprooting.
- Crown Thinning: By selectively removing interior, crossing, and redundant branches, you create aerodynamic pathways through the foliage. This allows heavy winds to pass through the canopy harmlessly, significantly reducing the mechanical stress placed on the roots and the trunk.
- Weight Reduction: Branches that extend too far horizontally bear massive amounts of leverage weight at the union. Reducing the length of these heavy end-branches mitigates the risk of them snapping under their own weight or the added burden of winter ice.
Executing these precise structural cuts requires a deep understanding of plant biology. If a branch is cut incorrectly, the wound will not heal, inviting pests and rot deep into the heartwood. This is why hiring a specialized local tree trimming service is absolutely critical for making precision cuts at the exact angle of the branch collar. Relying on uncertified laborers or generic tree services who utilize the damaging, outdated practice of “topping”—which involves blindly chopping off the upper half of the canopy—will permanently ruin the aesthetic shape of the plant, stimulate weak, rapid regrowth, and ultimately destroy the structural integrity of your most valuable outdoor assets.
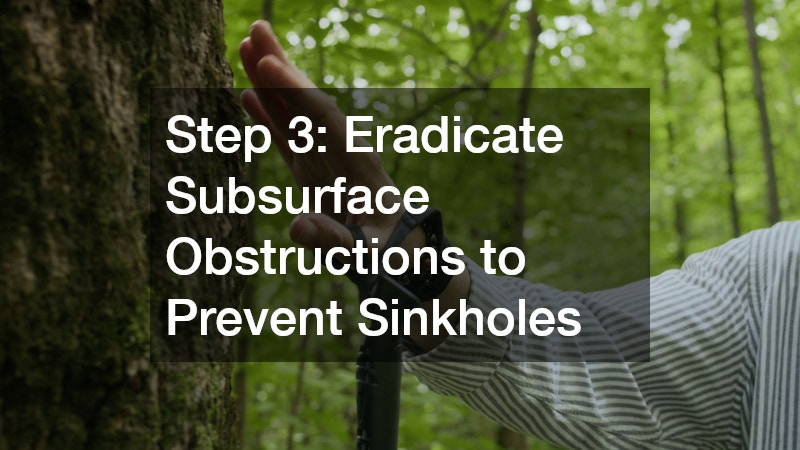
Step 3: Eradicate Subsurface Obstructions to Prevent Sinkholes
With the overhead canopy fully secured, pruned, and elevated, your focus must transition from the sky to the soil. A major property renovation requires a flawless foundation. If you intend to level the ground, install intricate hardscaping, or roll out expansive plots of fresh sod, the subsurface must be completely clear of hidden obstructions. The most common and problematic obstructions left behind after the initial clearing phase are the massive, subterranean root balls of the trunks you just removed.
A widespread and deeply flawed strategy among homeowners is to cut the trunk as close to the ground as possible and simply leave the remaining wood in the dirt to rot naturally over time. This is a severe mistake that will inevitably haunt your landscaping efforts.
Leaving decaying wood buried in your yard triggers a cascade of biological and structural problems:
- The Sinkhole Effect: As a massive root system decays underground over a period of five to ten years, the wood slowly turns to dust. This creates a massive, hidden subterranean void. Eventually, the topsoil will collapse into this void, creating a dangerous sinkhole right in the middle of your newly manicured lawn, destroying the level gradient you worked so hard to achieve.
- Pest Infestations: Decaying subsurface wood acts as an absolute magnet for destructive pests. It provides the perfect, moist breeding ground for subterranean termites, carpenter ants, and wood-boring beetles. Leaving this decaying wood in the ground actively draws these pests onto your property and dangerously close to the wooden foundation of your actual home.
- Nitrogen Depletion: The biological process of wood decay requires massive amounts of nitrogen. The fungi and bacteria breaking down the root ball will aggressively pull nitrogen out of the surrounding soil, starving your new grass and ornamental plants of the vital nutrients they need to grow and thrive.
To prevent these long-term disasters and properly prepare the soil gradient for your new design, you must completely eradicate the subsurface root structure. You should coordinate a professional stump grinding service to arrive immediately after the heavy overhead clearing is completed. This specialized machinery utilizes a high-speed, carbide-tipped cutting wheel to violently chew the remaining wood down to a depth of several inches below the soil grade. Because this requires specialized, highly dangerous heavy machinery, it is a task frequently offered by comprehensive local tree services to ensure the property is fully prepped and safe. Once the wood is ground into fine mulch and removed, the resulting hole can be properly filled with dense, nutrient-rich topsoil, creating a flawless, level canvas for your impending ground-level installations.

Step 4: Map and Trench Your Hydration Infrastructure Early
Once the sky is clear and the subsurface obstructions have been completely eradicated, your property is essentially a blank slate. However, before you even consider planting a single shrub or laying down a square foot of sod, you must engineer the infrastructure that will keep those plants alive. Water is the lifeblood of any property overhaul, and relying on manual hoses and erratic watering schedules is a guaranteed way to watch thousands of dollars of new foliage wither and die during the first major heatwave of the summer.
The installation of underground hydration systems requires digging deep trenches across the entirety of your yard. If you attempt to install this infrastructure after you have laid down new turf, the trenching machines will utterly destroy your beautiful new grass and sever the delicate, newly established roots of your ornamental plants. Therefore, the absolute golden rule of sequencing is to trench for your water lines after the heavy arborist machinery has left the property, but before you lay down expensive new topsoil or fragile ground cover.
Designing an efficient hydration system is a highly scientific process that revolves around the concept of hydro-zoning. You cannot simply blast the entire property with the same amount of water for the same duration.
- Mapping the Microclimates: A sun-baked, highly elevated patch of grass in the center of your yard requires a vastly different water volume and frequency than a shaded, low-lying fern bed positioned beneath a mature oak canopy.
- Calculating Precipitation Rates: Different delivery mechanisms emit water at different speeds. High-pressure rotary heads for large lawns deliver water much faster than gentle, low-flow drip lines designed to slowly soak the roots of delicate flower beds without promoting fungal growth on the leaves.
- Adapting to Soil Types: Heavy clay soils absorb water very slowly and require short, pulsed watering cycles to prevent massive surface runoff. Conversely, sandy soils drain rapidly and require more frequent, longer watering intervals to keep the root zones adequately moist.
Because the physics of water pressure, backflow prevention, and hydro-zoning are so complex, highly recommend consulting with an experienced local landscaper during this phase. They possess the topographical knowledge necessary to accurately map these specific hydro-zones across your newly cleared yard. Their expertise ensures that your newly installed lawn sprinkler system is custom-engineered to deliver precise hydration to the exact areas that need it, without over-saturating the existing root structures of the mature foliage you intentionally saved during the earlier phases. Furthermore, integrating modern technological upgrades—such as smart controllers that automatically adjust the watering schedule based on real-time local weather forecasts, evapotranspiration rates, and in-ground soil moisture sensors—will drastically reduce your seasonal water bills while guaranteeing your new investment receives perfect, automated hydration.
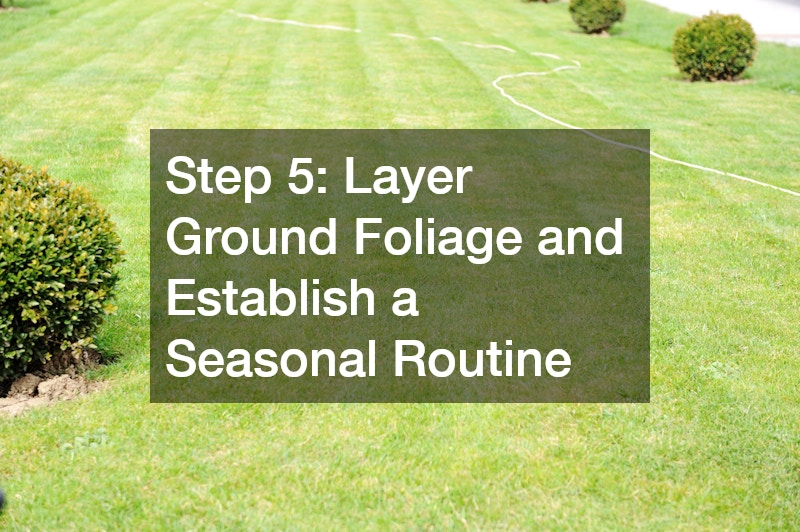
Step 5: Layer Ground Foliage and Establish a Seasonal Routine
You have successfully navigated the most arduous, destructive, and logistical phases of the project. The overhead hazards are gone, the canopy is elevated and aerodynamic, the subsurface is clear of decaying obstructions, and a state-of-the-art hydration network lies dormant beneath the graded topsoil. Now, and only now, are you ready to engage in the deeply satisfying process of actually planting the surface foliage and bringing your aesthetic vision to life.
When designing your planting beds, you must think in three dimensions. A common mistake is planting flora of the exact same height, resulting in a flat, uninteresting visual plane. Instead, employ the classic “thriller, filler, and spiller” architectural height technique to create dynamic visual depth.
- The Thrillers: These are the tall, striking focal points placed at the very back of the bed or in the center of a circular island. They draw the eye upward and establish the vertical scale of the garden.
- The Fillers: These are the mid-sized, mounding shrubs and perennials that surround the thrillers. They add dense texture, provide the primary pop of color, and hide the bare stems of the taller plants behind them.
- The Spillers: These are the low-lying, creeping ground covers and trailing vines planted at the very front edges of the bed. They soften the harsh lines of the retaining walls or the transition to the turf by gently spilling over the borders.
As you select the specific plants to fulfill these roles, you must exercise incredible discipline. It is easy to be seduced by exotic, tropical-looking plants in a glossy catalog, but planting species that are not adapted to your specific environment is a recipe for failure. You must select native species that naturally thrive in your region’s specific hardiness zone, your soil’s natural pH level, and the specific sun-to-shade ratios you mapped out during the very first step of this project. Native plants require significantly less synthetic fertilizer, are naturally resistant to local pests, and demand far less supplemental watering, making your new yard both beautiful and highly sustainable.
This final stage marks the exciting transition from heavy construction to the introduction of professional landscaping services, who will meticulously install the vibrant flower beds, lay down the rich, moisture-retaining mulch, and unroll the flawless new sod. However, you must recognize that a newly installed property is not a static, finished product like a newly painted room; it is a highly vulnerable, living ecosystem. The moment the last plant goes into the ground, the transition to long-term upkeep begins. Establishing a strict, weekly lawn maintenance schedule—including precise mowing heights, seasonal aeration, strategic fertilization, and proactive weed control—is the only way to guarantee that the massive investment of time, capital, and coordination you have just executed continues to thrive, mature, and increase the value of your property year after year.
Conclusion
Transforming a neglected, overgrown property into a breathtaking outdoor oasis is a monumental achievement that dramatically enhances both your daily quality of life and the overarching financial value of your home. However, success in the realm of outdoor renovation is entirely dictated by patience, discipline, and a rigid adherence to a logical sequence of events. Rushing to plant the beautiful surface details before securing the massive, heavy liabilities hovering above them is an exercise in futility that will inevitably result in damaged property and wasted capital.
By strictly adhering to the top-down methodology—beginning with the systematic securing of the overhead canopy, eradicating the hidden surface obstacles, engineering a highly efficient underground hydration network, and finally concluding with the strategic layering of aesthetic ground planting—you ensure that every single phase of your project is protected from the destruction of the phase that precedes it. Coordinating multiple distinct outdoor trades requires effort, but the result is a permanently transformed, cohesive ecosystem that functions as beautifully as it looks. Take the first proactive step today: walk out into your yard, look straight up at the canopy, and make a detailed list of the immediate overhead hazards that must be addressed before your ultimate vision can safely take root.